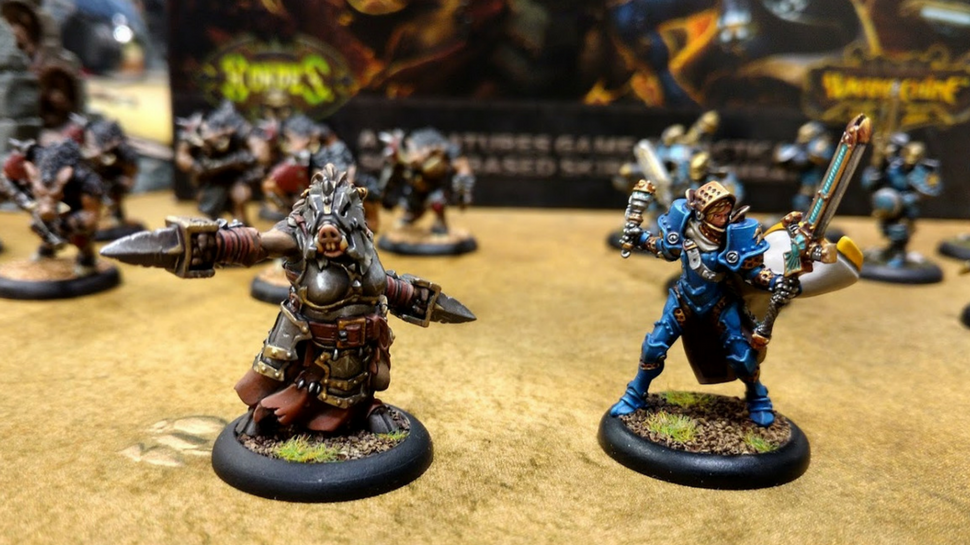
Painting techniques to elevate your miniatures
You’ve picked up a new set of miniatures - maybe for Warhammer, Dungeons & Dragons or that indie skirmish game your friend won’t stop going on about. Do you ever just look at the grey plastic and not know where to start? A lick of paint and some clever techniques will immediately level up your miniatures. Whether you’re brand new to miniature painting or you’ve been at it for a while, here are some tried-and-tested techniques to help you elevate your miniatures to the next level.
1. Prime time
Never, ever skip priming. It’s like laying the foundation before building a house. Without a primer coat, your paint won’t stick properly and may rub off after all your hard work. You can use sprays (super handy) or brush-on primer. Not sure which colour to use? Black primer is great for a dark, moody vibe while white is best for bright, poppy colours. If you can’t decide on either of those, then grey is the way to go!
2. Thin your paints
This is the golden rule you’ll hear from every painter ever - thin your paints! Slapping paint straight from the pot is a no-go as it’ll just clog up all those beautiful details. Just add a tiny drop of water to your brush or use a wet palette (this is a game changer by the way). You’ll need a couple of coats but the results are so much smoother and cleaner.
3. Master the wash
Washing is like magic. Take a dark, watered-down paint and let it run into the crevices of your mini. Suddenly depth, shadows and details pop out as if you’ve spent hours carefully shading by hand. Nuln Oil and Agrax Earthshade are hobby legends for a reason. Don’t forget to tidy up the raised areas afterwards for extra sharpness.
4. Dry brushing is your best friend
Dry brushing is the easiest way to make raised details stand out without any effort. Just dip your brush in paint, wipe most of it off on kitchen roll and then gently sweep across the surface. Edges, textures and rough bits will catch the paint beautifully giving you that weathered or highlighted look.
5. Layering and highlights
Once you’ve got the base colours and shadows sorted, start building up layers. Use a slightly lighter shade than your base colour to gently add highlights to raised areas. Work in thin coats, build gradually and you’ll get a lovely smooth transition that really lifts the miniature’s look.
6. Experiment with glazing
Glazing sounds fancy but it’s just super thin paint brushed over areas to tint or blend colours. Want to warm up a cloak or add a hint of magic glow? A quick glaze can make flat surfaces more interesting without redoing the whole thing. Just remember: less is more.
7. Don’t neglect the base
A cracking paint job on top of a boring base? Tragic. A good base frames your mini and makes it feel part of a world bigger than itself.
8. Patience pays off
The most important tip of all: don’t rush. We all want to see the finished result straight away but the best work comes from taking your time, layering gently and letting things dry properly. Put on a good podcast or playlist, get comfy and enjoy the process.
With these techniques under your belt, your miniatures will start to look better than ever. Remember - practice makes perfect and every miniature you paint teaches you something new. If you want to browse our wares to level up your miniatures or need any help along the way, contact us today.
